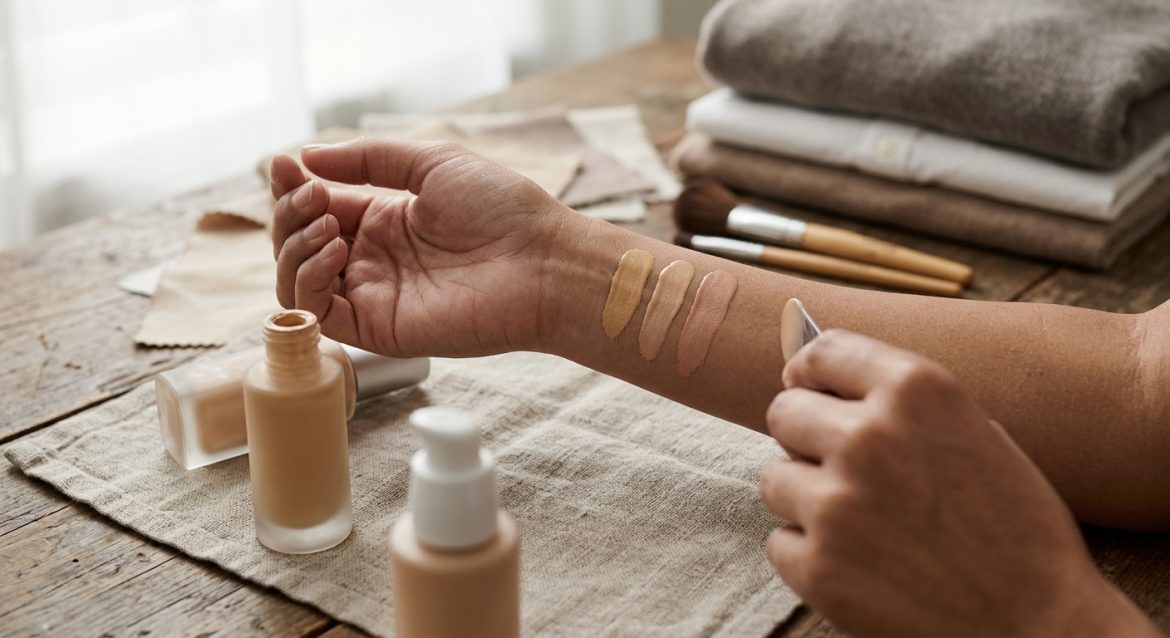
Switching foundation brands requires mapping your skin's depth level and undertone rather than relying on shade names or numbers. Cosmetic brands use conflicting coding systems, and different formula finishes—such as matte versus dewy—change how dark or saturated pigments look once fully set. To find an accurate match across lines, establish your skin depth, identify your permanent undertone, adjust half a shade for formula coverage and oxidation, and verify swatches across your jawline in natural light.
Why Don't Foundation Shades Match Across Brands?
Cosmetic manufacturers do not follow a standardized color grid. A shade named "Sand" or labeled "Medium 20" in one product line can range from a light golden yellow to a deep peach in another.
Brand shade codes generally follow three main architectures:
- Color-Correcting Systems: Some brands code products based on color-neutralizing principles rather than surface skin appearance. In these lines, codes containing "Cool" markers may actually carry golden-yellow pigments designed to neutralize cool or red tones in the skin. Conversely, codes with "Warm" markers may contain pink-red pigments intended to tone down surface warmth.
- Alphanumeric Depth and Tone Codes: Many manufacturers use a three-part alphanumeric code. The first digit represents pigment depth (for example, 1 for fair up to 6 or 7 for rich/deep), the letter indicates undertone (C for Cool, N for Neutral, W for Warm), and the final number indicates tone intensity or saturation (such as 2W1).
- Sequential Numeric Ranges: Other lines group shades into consecutive three-digit blocks (such as 100s for fair, 200s for light-medium, 300s for medium-tan, and 400s for deep-rich). Individual numbers within each hundred-block signal specific cool, warm, olive, or neutral adjustments.
Because these logic systems conflict, selecting a shade in a new brand based solely on your current shade number almost always results in a mismatch.
How Do You Map Your Universal Skin Baseline?
To cross-reference foundation shades accurately, separate skin depth from underlying tone.
1. Determining Pigment Depth Level
Depth measures how light or dark your skin is overall. Categorize your skin into one of six baseline depth tiers:
- Fair: Very pale skin that burns easily in sun exposure; white-tinted bases disappear quickly.
- Light: Pale to light-medium skin that burns initially but can tan slightly.
- Medium: Balanced skin that tans easily and rarely burns, often showing golden, olive, or neutral undertones.
- Tan: Deep golden or warm brown skin that tans quickly without burning.
- Deep: Rich brown skin with high pigment saturation.
- Rich: Very dark brown to blue-black tones with intense pigment density.
2. Identifying Permanent Skin Undertone
Undertone is the subtle shade beneath your skin surface. Surface flush from rosacea, acne, or sun exposure changes, but your underlying tone remains constant.
- Cool: Pink, red, or bluish undertones. Silver jewelry typically flatters cool skin, and inner wrist veins appear blue or purple in indirect daylight.
- Warm: Golden, yellow, or peachy undertones. Gold jewelry aligns smoothly with warm skin, and wrist veins appear greenish.
- Neutral: A balanced mix of pink and yellow tones. Gold and silver both look natural against neutral skin, and wrist veins appear blue-green.
- Olive: Subtle greenish, muted, or greyish underlying casts. Standard "Warm" foundations often look overly orange or bright yellow on olive skin, while "Cool" formulas look chalky or pink.
If surface redness on your cheeks makes identification difficult, check clear skin along your jawline, lower neck, or the inside of your upper arm to establish your true undertone.
How Do Formula Finishes and Drying Alter Color?
Even when two foundations share similar wet pigment levels, their final appearance changes as the product sets. Two main formula factors alter color on the skin:
Oxidation and Wet-to-Dry Shifts
Liquid foundations combine iron oxides, mineral pigments, and liquid binders. When these ingredients mix with air and natural facial oils, the liquid portion evaporates and pigments shift. Most liquid foundations darken by half a shade to a full shade within 10 to 20 minutes of application. Matte and oil-control formulas darken more noticeably than hydrating formulas because their high concentration of absorbent powders and clays absorbs surface oil quickly.
Surface Light Reflectance
- Matte Finishes: Full-coverage matte formulas absorb ambient light. Because light does not bounce off the surface, matte pigments look denser, flatter, and darker on the face. You may need to select half a shade lighter than your baseline depth when buying a matte liquid.
- Dewy and Radiant Finishes: Glossy and light-reflecting formulas bounce light away from the face, making pigments appear lighter and more sheer. Radiant formulas allow natural skin texture to show through, offering a slightly wider margin for shade error.
A Practical Shade Translation Example
Consider a hypothetical scenario where a reader currently wears a light-medium, sheer radiant foundation with warm golden undertones and wants to switch to a full-coverage matte liquid foundation from a brand using alphanumeric coding (Depth Number + Letter + Intensity Number).
- Identify the Baseline: Light-Medium depth (Tier 2), Warm/Golden undertone.
- Filter New Brand Coding: Search the new brand's 200-level range (Light-Medium depth) specifically under the "W" (Warm) category.
- Adjust for Formula Finish: Because full-coverage matte liquid foundations dry down flatter and denser (and often shift darker as liquid evaporates), step down half a shade lighter in intensity (for example, choosing 2W1 instead of 2W2) to keep the dried formula from looking too dark or orange.
What Is the Correct Way to Test Shade Samples?
Swatching foundation on your wrist or back of the hand leads to buying mistakes because hand skin is frequently darker or redder than facial skin. Use this step-by-step jawline testing process:
- Cleanse the Jawline: Remove face makeup along your lower cheek down past the jawline onto your upper neck.
- Apply Three Test Stripes: Place your target match in the center, a slightly lighter (or cooler) shade on one side, and a slightly darker (or warmer) shade on the other side. Draw vertical stripes from the lower cheek down onto the neck.
- Blend the Lower Half Only: Leave the top portion of each stripe wet and unblended to monitor initial color. Blend the lower half of each stripe into the skin where jaw and neck meet.
- Wait 15 to 20 Minutes: Step away from bright cosmetic display lights into indirect daylight near a window or outdoors to let the liquid set completely.
- Evaluate the Match: Select the shade whose blended portion disappears seamlessly into both your jaw and neck without leaving a harsh boundary line or an orange ring.
What Should You Do When You Fall Between Shades?
If a brand line does not offer an exact off-the-shelf match, adjusting formulas is more effective than wearing a mismatched single shade.
- Mix Two Adjacent Shades: Purchase one shade slightly lighter and one slightly darker within the same undertone group. Adjust the mixing ratio on the back of your hand as your natural skin tone shifts across summer and winter months.
- Use Pure Pigment Adjusters: If foundations consistently turn too orange or golden on your skin, add a single drop of blue pigment adjuster to neutralize excess orange tones into a true olive or neutral base. If foundations consistently look grey or chalky, add a drop of yellow adjuster to add warmth.
Practical Shade-Matching Checklist
| Evaluation Step | What to Look For | Corrective Action |
|---|---|---|
| Lighting Check | Evaluate dried swatches in indirect natural daylight rather than store spotlights. | Check swatches near a daylight window or outdoors before purchasing. |
| Drying Shift | Compare the wet upper swatch to the 15-minute dry lower swatch for darkening. | If the formula darkens noticeably as it sets, select half a shade lighter. |
| Neck Alignment | Inspect where blended foundation meets your upper neck and collarbone area. | Match your neck depth to avoid a visible mask line along the jawline. |
| Undertone Cast | Check for ashiness (too cool) or artificial orange tones (too warm). | Switch undertone categories (e.g., move from Warm to Neutral or Olive). |
Check your lower jaw and upper neck in natural window light today to confirm whether your primary undertone leans pink, golden, neutral, or olive. Knowing your precise depth tier and undertone allows you to narrow down swatch choices in any brand line quickly.